Receipt Template
Receipt Template
The receipt template is how you can edit what the receipt will look like once it has been printed from the printer to give it to your customer and/or keep a copy for yourself.
How to create a Receipt template
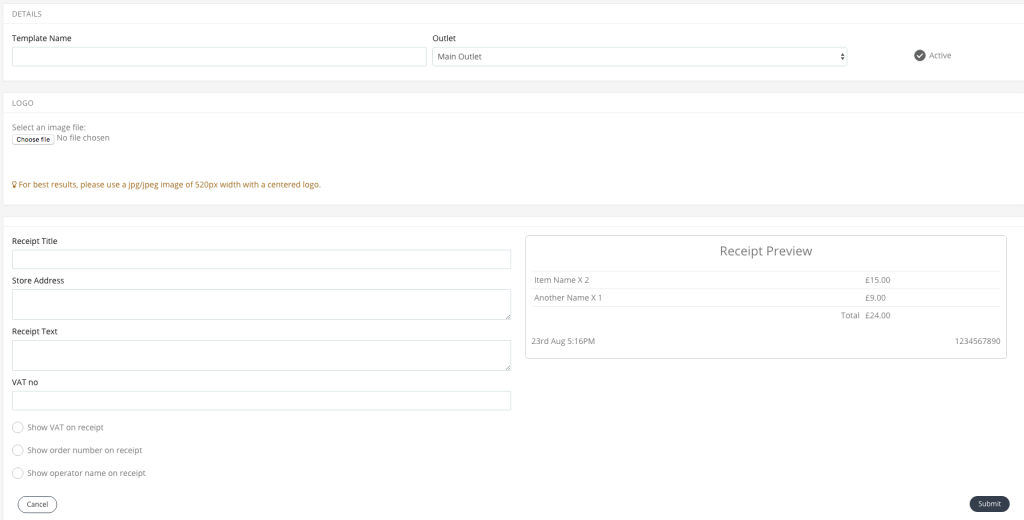
Please go to: Setup > Receipt Templates.

Please click on the ‘+Add new receipt template’. Alternatively, you can choose to edit the default template that has already been created for you.

How to edit and use the Receipt template
You have the option to fill out all necessary fields that are relevant to your business.
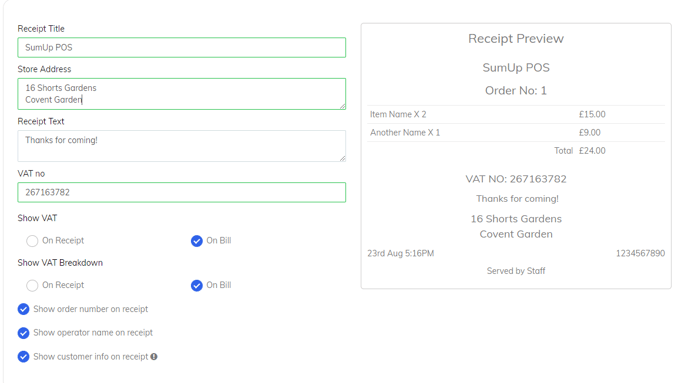
These can include the receipt title, store address, receipt text and VAT number.
The receipt title is what will be printed out as the title on the top of the receipt.
The receipt text can be a thank you message for your customers or anything relevant to their purchase that you would like to add.
If you are VAT registered, you have the option to input this number for your customers to see.

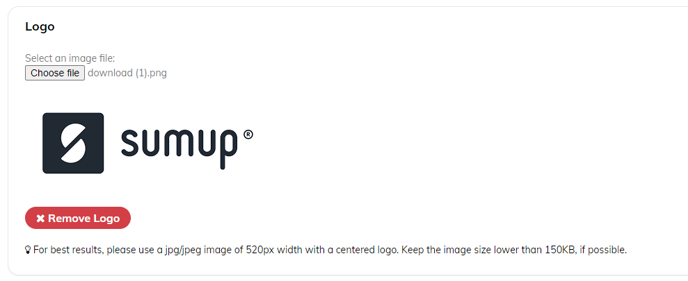
You are also able to upload your logo to include on the receipt. Please click on the ‘Choose file’ button and choose your logo.
 Note – The image chosen must be a jpeg/jpg file with a size of 520px width for a centered logo.
You are also able to see a preview of your template on the right hand side of the page.
You also have the option to either hide or show a few details such as the VAT breakdown for that sale, order number and staff member who served the customer. Enabling these will also show on the preview for you to see before submitting.

You can also tailor your tickets to show prices or order numbers:
Receipt Printing
- Print on, no sale: Previously by default, a No sale ticket would print when forcefully opening the cash drawer to indicate that it was a no sale. You now have the option within receipt printing section to enable/disable the print setting.
- Print on Register Closure: When disabled, confirming register closure will not print any report. You can still manually print the X-Read report directly from the POS. 
Review link on the receipt:
- If you want to show a review link to your customers on the receipt, complete the section below with the text that will appear at the bottom of the receipt, followed by a QR code that will be generated from the review link below.
For examples on how the printouts look, please follow the link here. 