Please note that currently, allergens can only be set on an ingredient level and will not work with any external integrations (for example Uber Eats & Deliveroo). Ingredients will need to be linked to products (it will not warn for modifiers) for the allergen warnings to work - to learn more about how to setup ingredients please follow the steps here.
Please see here for how allergens work on the POS app (please note that you will need to be on app version 8.9 or above for allergens to display on the POS).
In the Backoffice
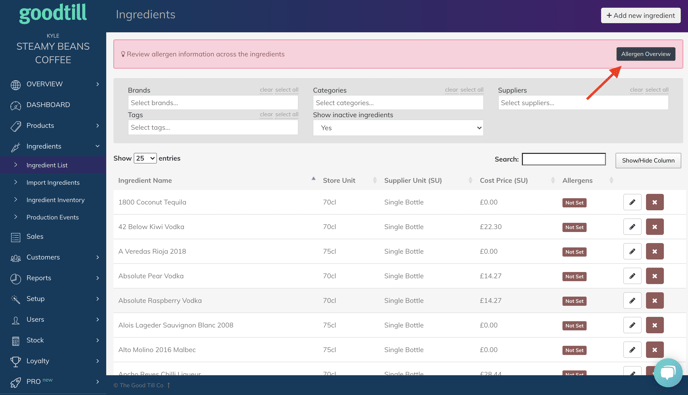
When setting up allergens for the first time you must go through the allergen review process. This can be accessed by clicking on the update allergens button at the top of your ingredients page (Ingredients > Ingredient List).
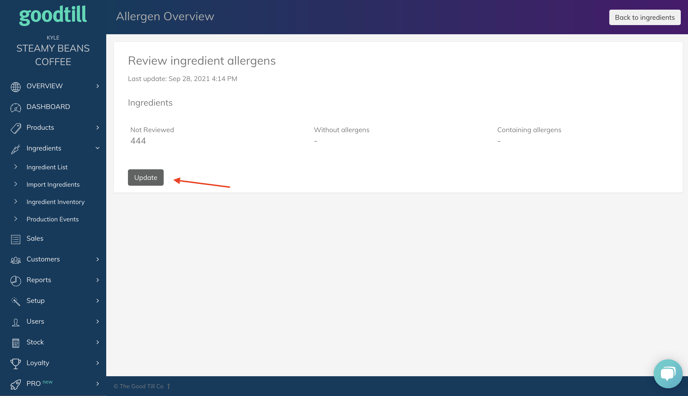
Once you have clicked on the Allergens Overview button you will be brought to the overview page. Here you can see how many ingredients you have not reviewed, have allergens, and how many don't have allergens. You can also see the last time your allergens were updated on your ingredients. To make any changes to your ingredients' allergens click on the update button.
From the allergen update page, you can assign the relevant allergens to your ingredients. If an ingredient does not contain any allergens you can select the 'No Allergens' option. Once you have selected all the relevant allergens against your ingredients click on save and you will see a success prompt on the screen.
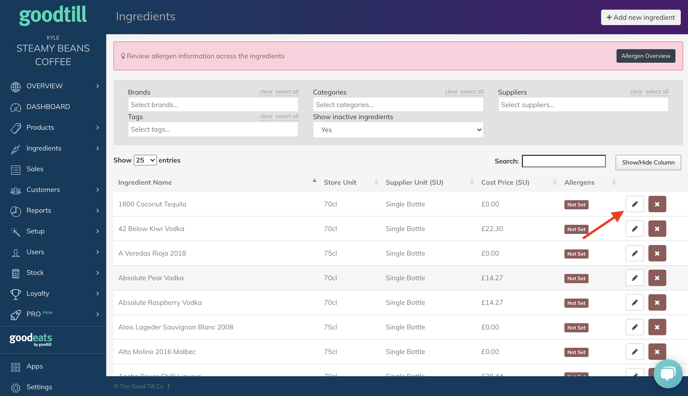
You can also edit allergens on specific ingredients instead of using the bulk update tool. To do this click on the ingredient list option and click on the pencil icon of the ingredient you want to edit.
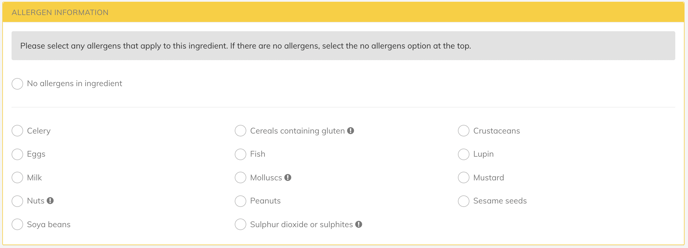
When in the ingredient edit page you will see a section called 'Allergen Information'. Here you can update the allergens of that ingredient by selecting the relevant options.
Just remember to save your changes by selecting Submit and refreshing on POS with the logo at the top left.