
The selling layout is how you customise the front end (app on iPad). This is how you will see all of your items for sale on the front-end. You can have different selling layouts for different menus or different outlets.
Warning - Please be aware that the selling layout can only be modified on a laptop or desktop computer, as it is not compatible with touch devices. Therefore, editing the layout on an Apple iPad or any other touch-based device is not possible.
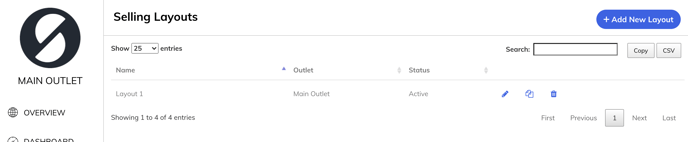
How to create a Selling Layout
To create a selling layout, go to > setup > selling layout > +Add new layout.
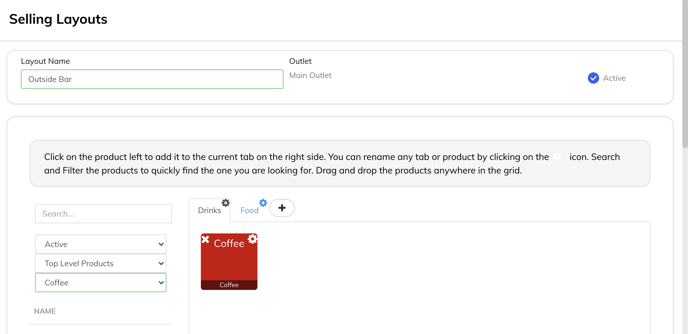
Now you can enter a name for your layout, and then select which outlet you want the selling layout on, and press Active to activate.
This will create a blank canvas for you to add items to your selling screen.
How to use and edit the Selling Layout
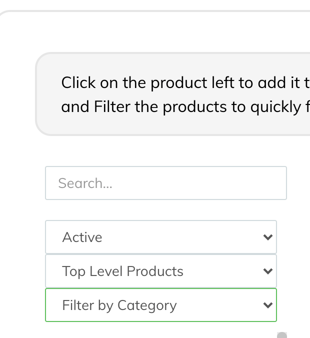
All of your products will be located on the left-hand side of the page. To select one, please click on it, and it will automatically copy over to your selling layout. There are various filters to help find your products, such as a search and categories function.
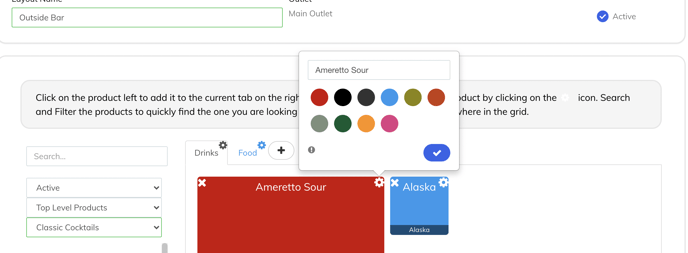
To edit the colour, once the product has been added to your selling layout, click on the gear icon on the top right of the product. This will bring up the various colours that you are able to change to. This feature is useful to organise products.
To edit the size of the product, once you have added it to the selling layout, please click and hold the bottom right of the product, and you will be able to enlarge the image. This feature is useful for your most popular products to stand out.

You also have the opportunity to move items around once added to the selling layout. Please click, drag and drop the items wherever you would like them!
You can also have various tabs, which act as an additional selling layout page to help organise your products. These can be used for organising products into groups such as ‘Drinks, Food or Retail items’. This can be changed to anything that will help you to keep organised!
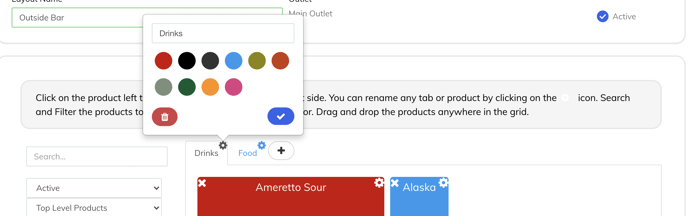
To do this, please click on the addition symbol (+) next to the ‘New Tab’ option, which will create an additional tab. Adding products to this and editing is the same in all tabs!
Please note that if you’re creating a new selling layout, you will need to map this to your register(s) by going to Setup > Registers > Edit Register > Choose Selling Layout > Submit.
As with all changes in the back office, please remember to sync the changes to your till by tapping the logo at the top left of the app.
