
Have a look at a video here or scroll down for more information.
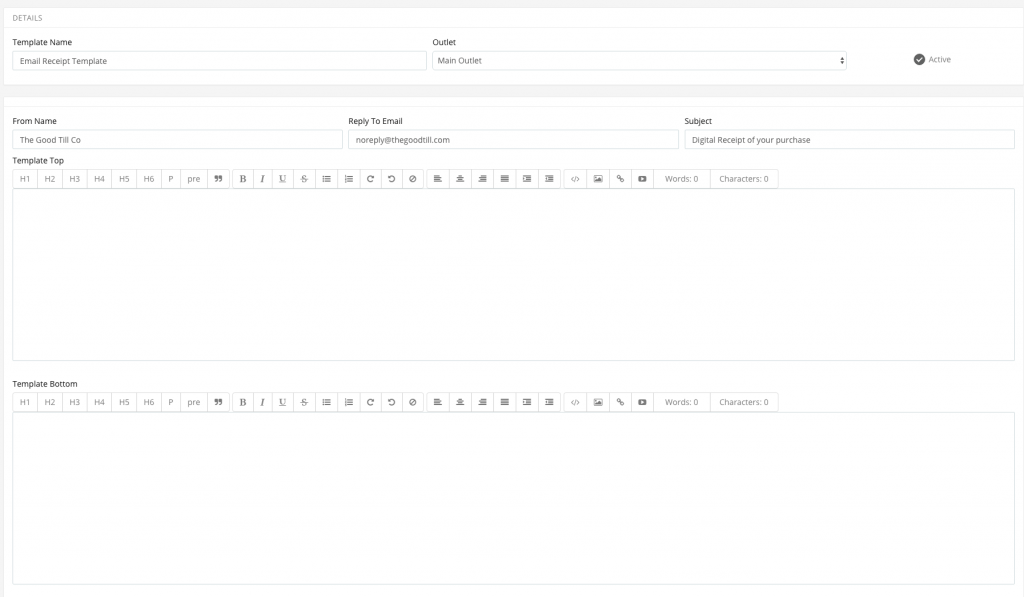
Email Receipt Template
This is where you can edit what the receipt will look like when it is sent to the customer via email. Please refer to the front-end guide to find out how to enable this feature.

How to create a Receipt template
Please go to: Setup > Email Receipt Templates.

Please click on the ‘+Add new email receipt template’ or you can choose to edit the default template that has already been created for you.
How to use and edit the email receipt template
You have the option to change the ‘From name, Reply to email and Subject’ of the email.

Here you can create the top of the template to the email receipt. This is the top half of the receipt which will show above the transaction information. You are able to add features such as links, images, videos and various heading types.
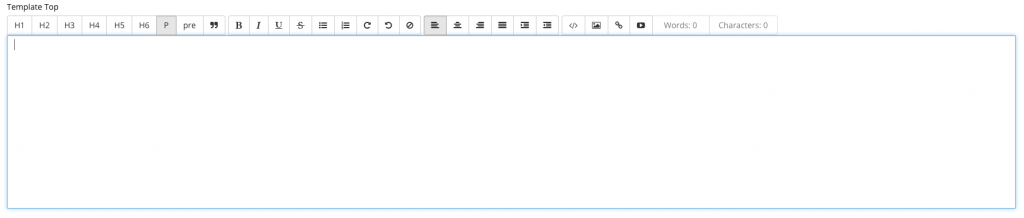
Note – To add an image you must enter the URL of the image to insert. You can also attach a link or a video this way.
When you scroll down, you will be able to edit the bottom of the template. This is mostly used for a thank you note at the end. Once you’re happy with your email receipt template, press submit.
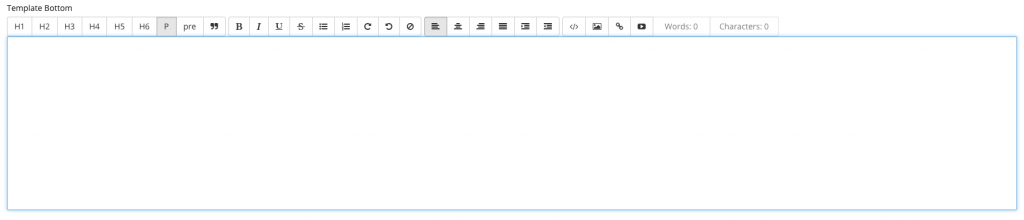
The transaction information will be above this (between both the top and bottom) in the email sent to the customer.
