
Welcome to our step-by-step guide for setting up your system! We understand that setting up a new system can sometimes be challenging, so we've created this comprehensive guide to walk you through the process smoothly.
- SumUp POS Pro account (pos.thegoodtill.com)
You should have received an email to activate this shortly after paying for your order
- SumUp Merchant/Payments account (me.sumup.com)
This is the SumUp account used to configure your Kiosk and take payments
Once your Kiosk Portal has been activated, you can follow this link: https://portal.orderandpay.sumup.com/dashboard or click “Order & Pay” on the left-hand side of your dashboard

Click “Get started” to begin.
Create your Kiosk

The first thing to do is to connect your existing POS. Click on “Add POS connection”.
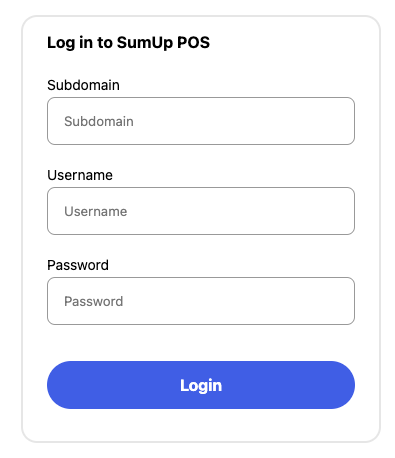
Enter your POS login credentials. If you have multiple locations, make sure you use the login details for the relevant store you’re Kiosk will be in.
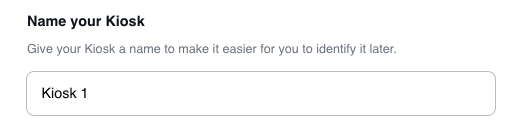
Now enter a name for your Kiosk.
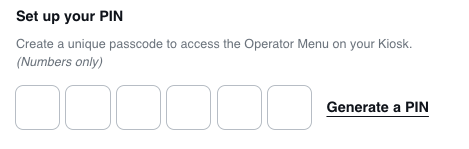
Then create a PIN, this will be used when you need to access the settings menu on the Kiosk screen.
Kiosk Setup Step 1: Order Settings

You’ll now see an overview of the steps you’ll be going through to set up your Kiosk. You can complete them in any order but we recommend starting at the top.
Click on “Next” to progress to the next step.
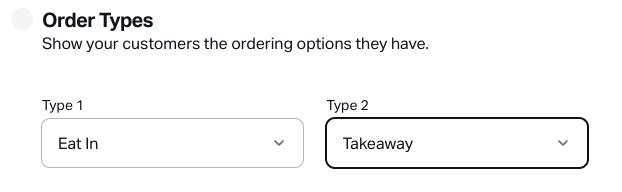
On this step, you can decide if you want one or two order types. We have named them “Eat In” and “Takeaway” but you can rename them later.
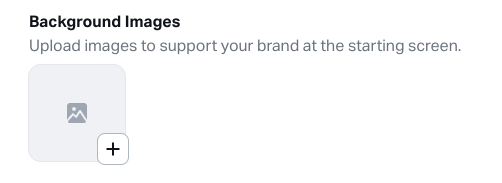
Click on the “+” to upload your own background image.
Ideal specifications for your background image:
Width = 1080 pixels
Height = 1920 pixels
Format = JPEG/PNG/GIF
Max size of 10MB.

This section allows you to set the specifics on how you want to identify orders and customers.
The Collection code is the customer’s order reference you can use for order collection. You can choose for this code to be numeric or alphanumeric eg. #12398 or #AB123.

You can also request a customer’s name, phone number or add your own custom prompt.
If you request the customer’s phone number, they will receive an SMS when their order is ready, however, this is only available if you have a Kitchen Display Screen.
You can customise these settings for each order type.

Enter the custom text that will be displayed to the customer once they have completed their order eg. We’ll call out your order number when your order is ready!
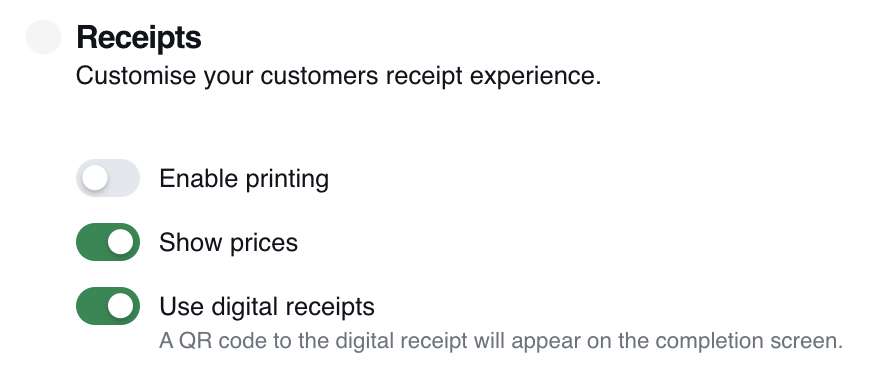
The next step gives you some options around receipts.
By default the kiosk will be set to display a QR which your customer can scan to get a digital receipt.
If you have a printer connected directly to the Kiosk for receipts, then turn on “Enable printing”.
The “Show prices” option allows you to remove pricing from the receipt.
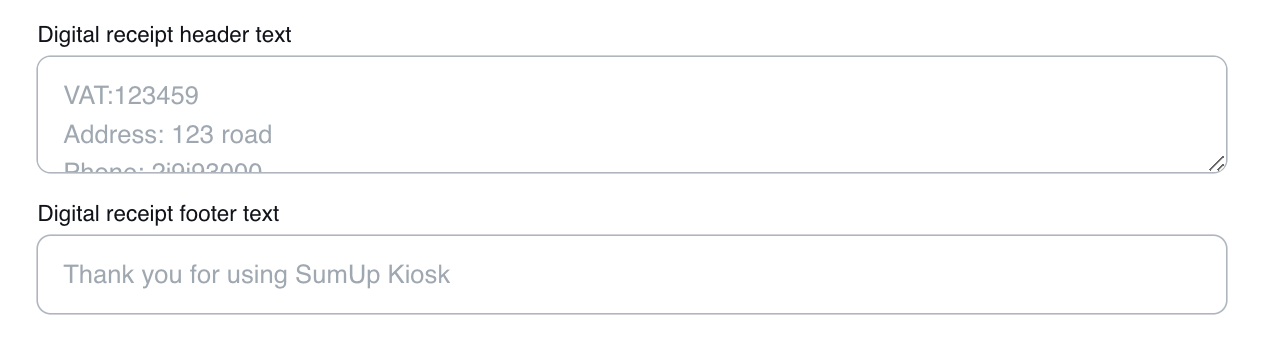
You can also add some additional text to the receipts.
Kiosk Setup Step 2: Menu Builder
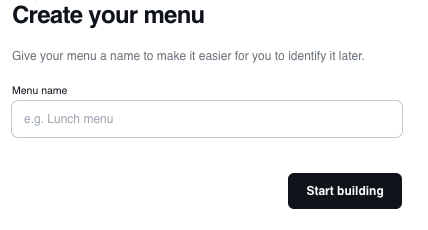
The next step is to create your Menu. Give your menu a name and click “Start building”.
Note: you can have more than one menu, like a lunch menu or a dinner menu.
Your menu will now be created based on the products you have already created in your Point of Sale that you connected in the beginning.
As the kiosk is customer facing, we highly recommend adding images to your items. This can enhance its overall look and provide a more visually-engaging experience for your customers.
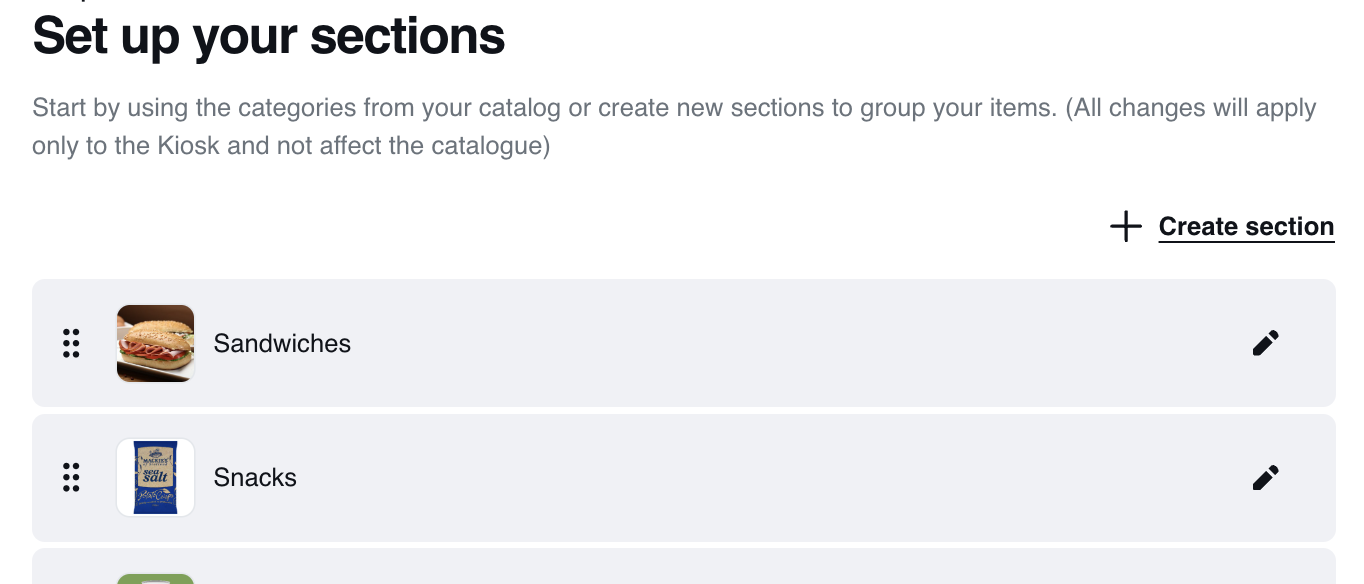
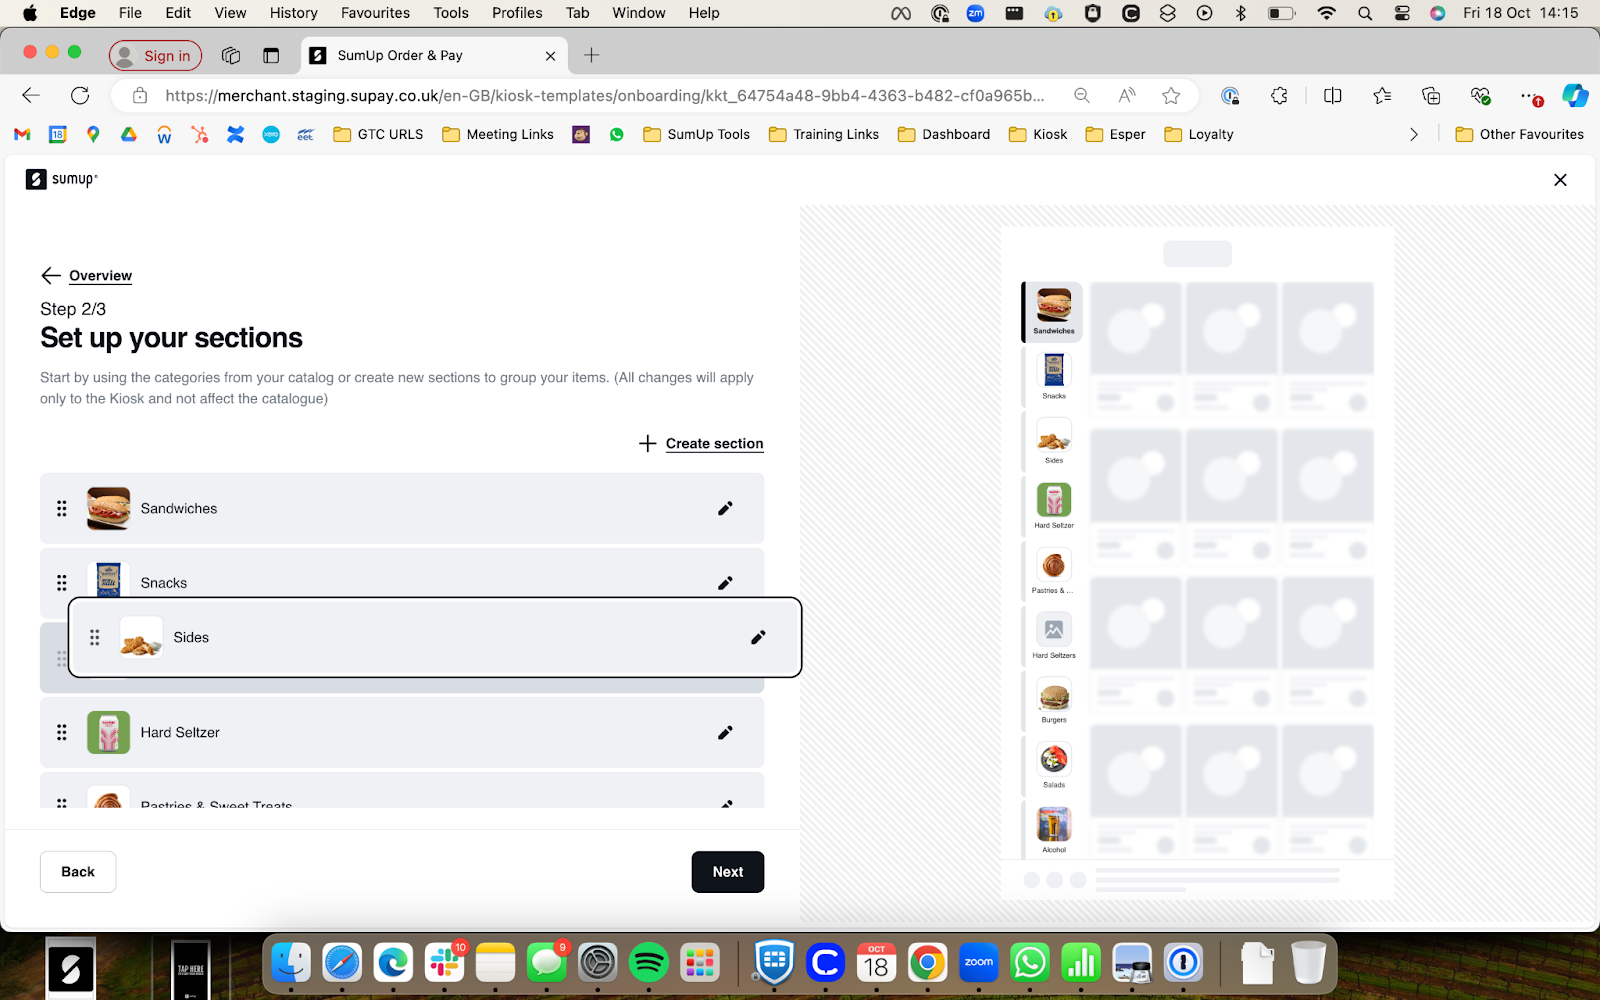
Your sections will be created based on the category that has been assigned to each product.
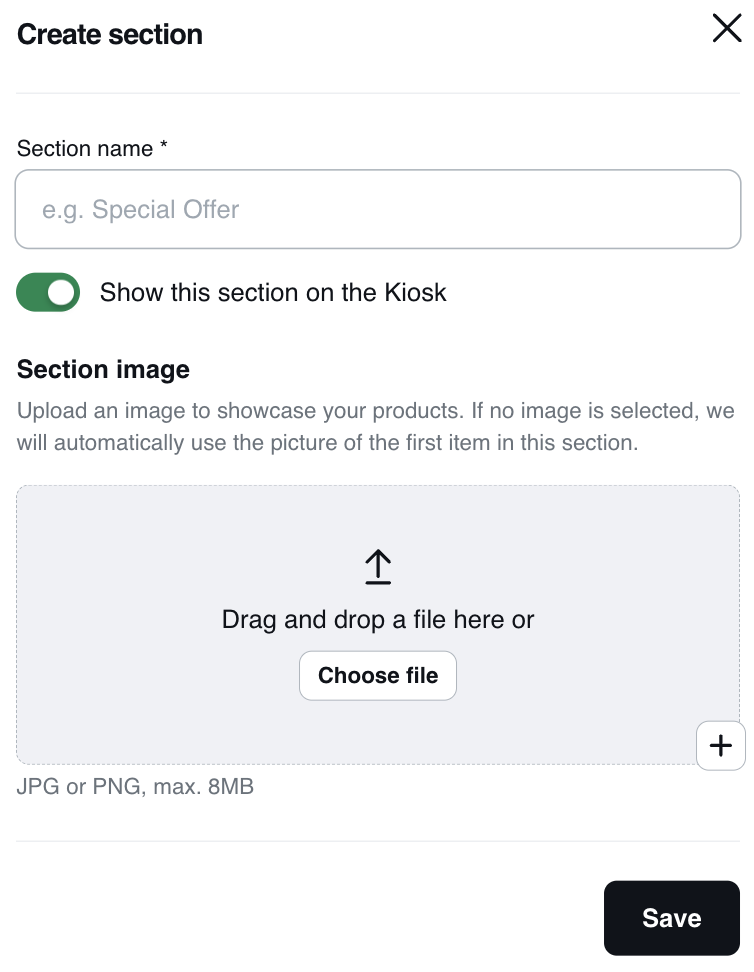
You can click on the pencil icon next to each section to edit them, or create an additional section by clicking on “Create section” in the top right.
You can also click and drag each section to rearrange the order that will be displayed on the screen.
When you are ready, click “Next” to move to the next section.
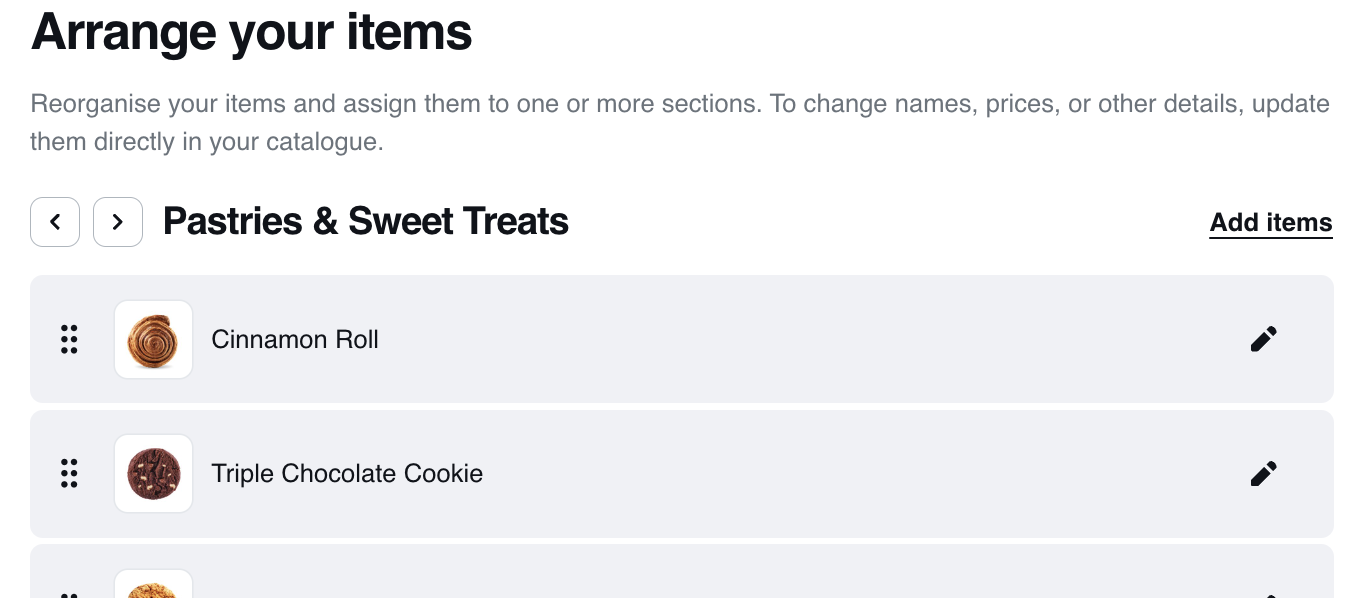
From here you can edit the products that appear in each section or rearrange the order that will be displayed on the kiosk.
Use the Left and Right arrows, on the top left, to switch between sections you would like to edit.
Click on the pencil icon to edit a product.
Here, you can change the name and image that appears on the Kiosk, or you Click “Delete from section” to remove it from the current section.

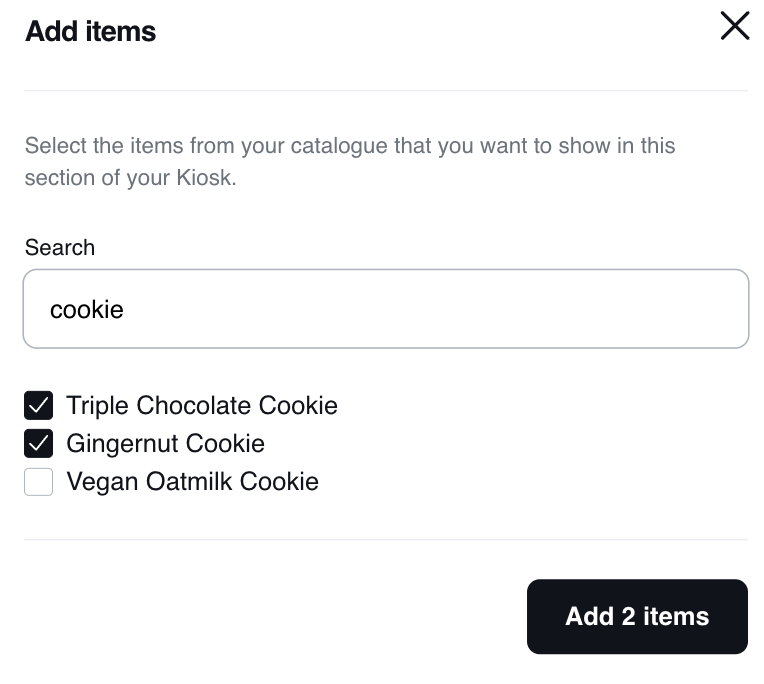
You can also add additional items to the section by clicking on “Add items”.
Search for the products you wish to add, select them from the list and click on the Add items button.
When you are finished setting up your menu, click “Save” to move to the next section.
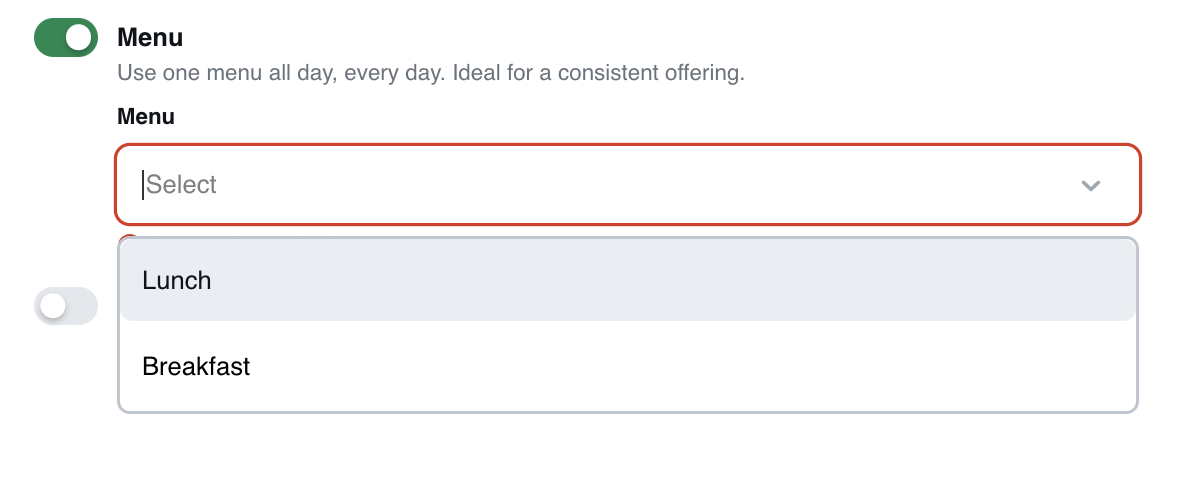
Here you can select which menu is displayed if you have more than one.
Or if you would like to automatically switch menus at set times, you can turn on “Schedule menus”

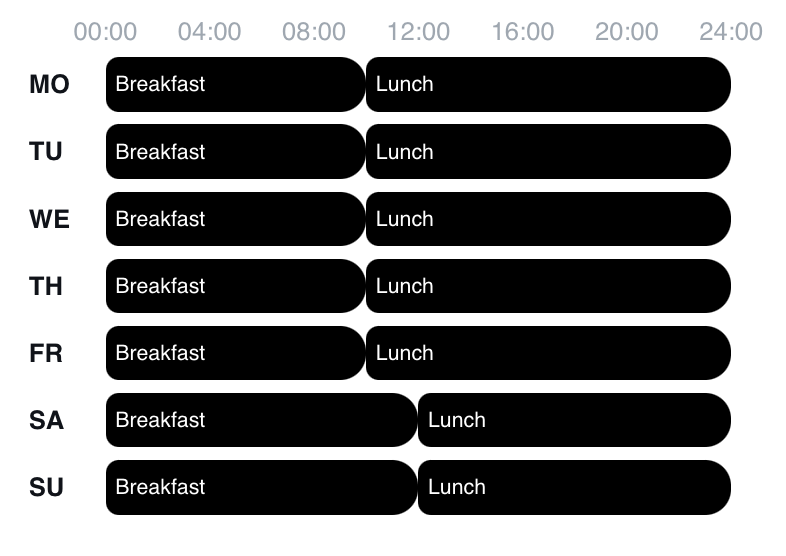
Click on one of the time periods in the schedule to edit it.

Here you can select the menu, times and days for that specific period.
Click “Add time period” to choose the times for your next menu.
You can make the schedule as simple or complex as you need and the kiosk will automatically switch to the relevant menu at the specified times.
When you are finished, click “Next”.
Kiosk Setup Step 3: Branding
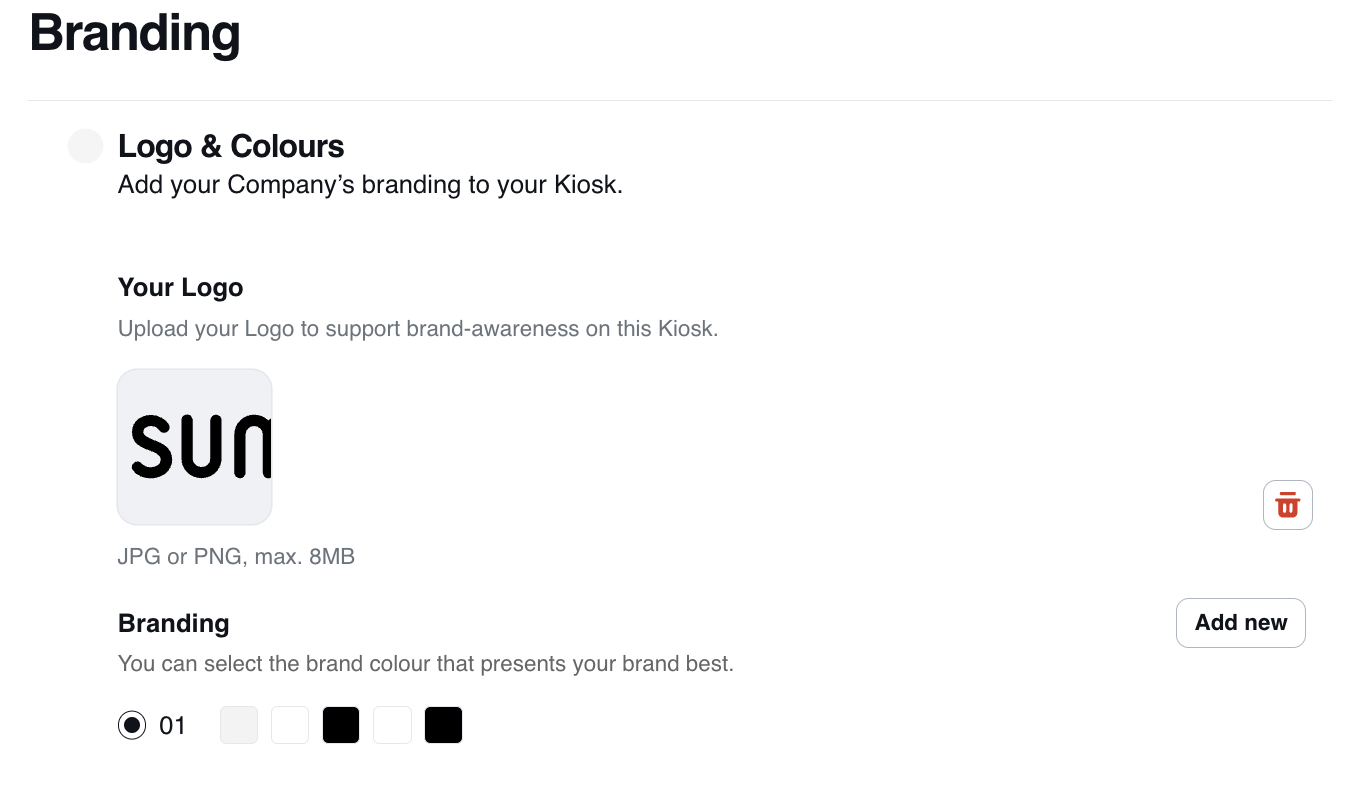
Now it’s time to set up your branding.
By default the Sumup logo is showing. You can remove this and add your own by clicking on the bin icon.
Now you can select the colour scheme for text and buttons.
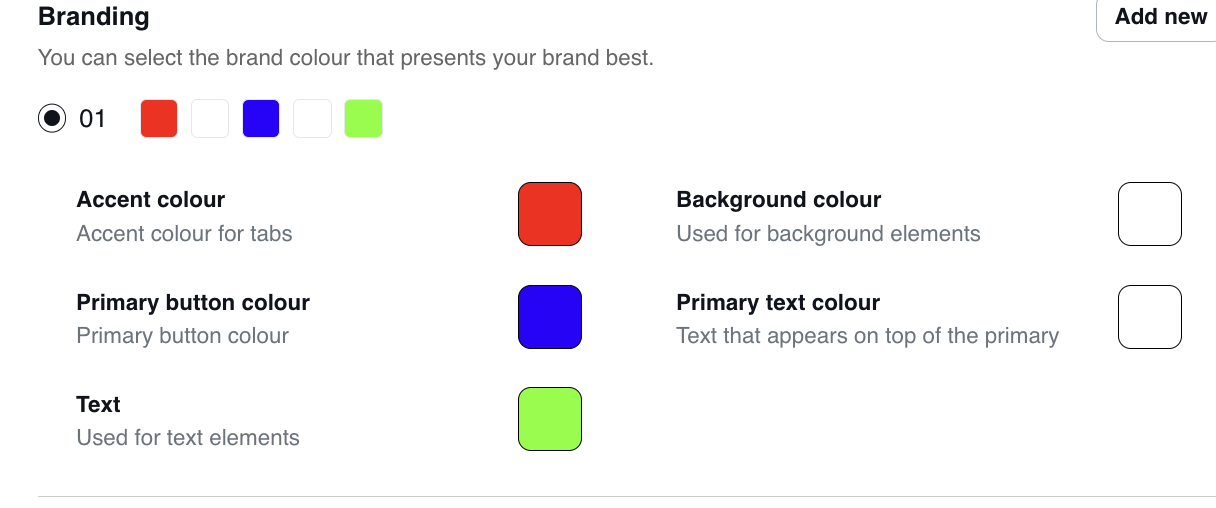
When you are ready, click “Next”
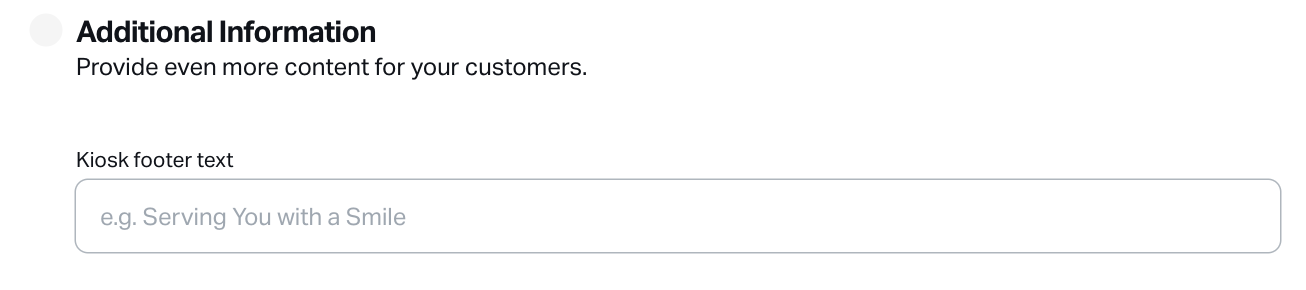
Here you can add some custom text to be displayed at the bottom of the Kiosk.
And if you have any additional information you would like to make available to the customer. You can upload a PDF here.
The customer can access this by tapping on the button at the bottom of the kiosk.
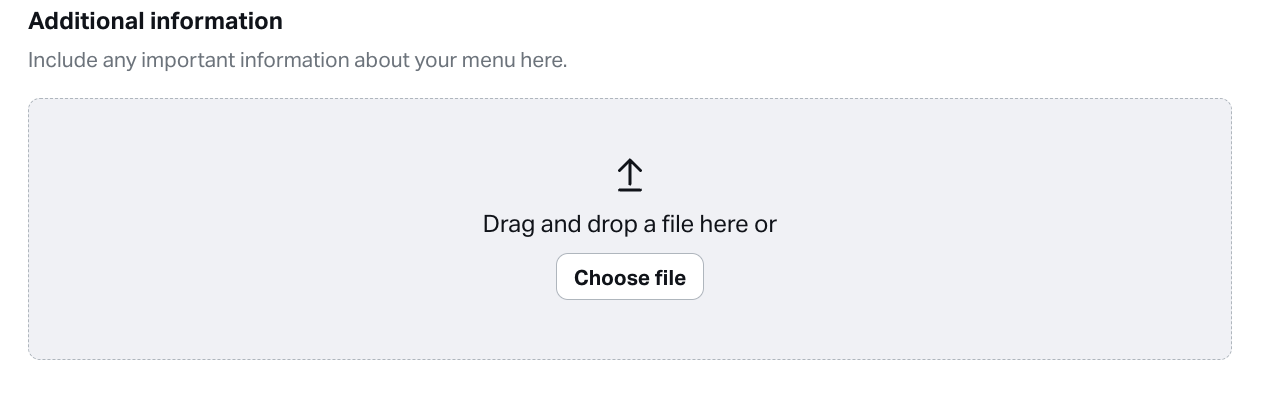
When you are ready, click “Next”.
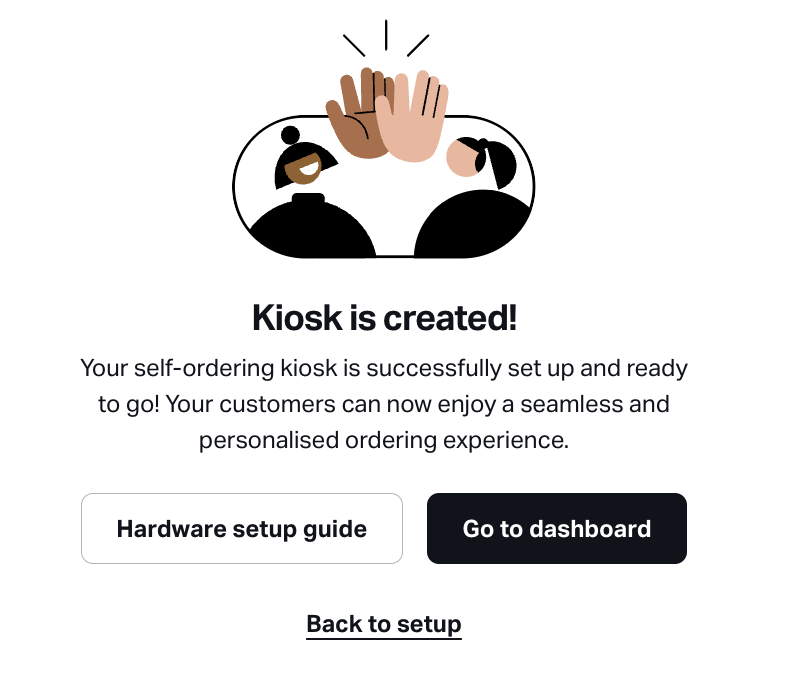
You have now finished setting up your Kiosk and you are ready to set up your hardware.