Purchase Orders
You can create this in the back office by going to Stock > Orders
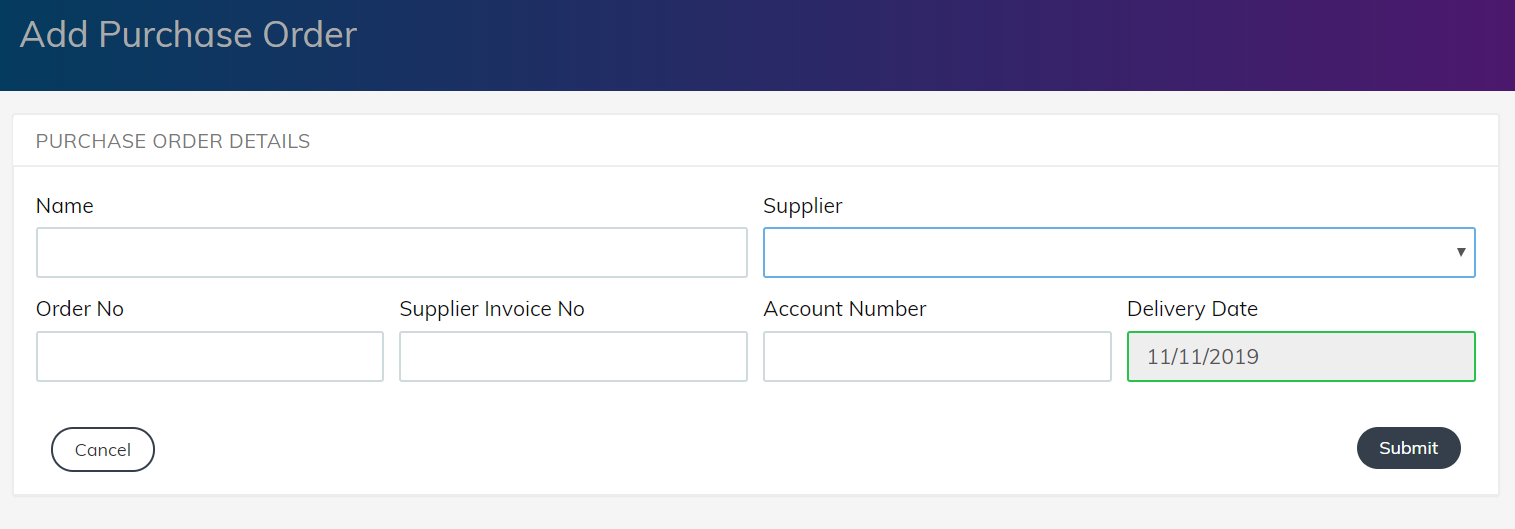
Name: This is for your internal reference, so it could be, for example, “London Store Tea Order”
Supplier: The supplier’s name (Suppliers can be created in the back office by going to Products > Suppliers > Add New Supplier)
Order No: Internal reference number
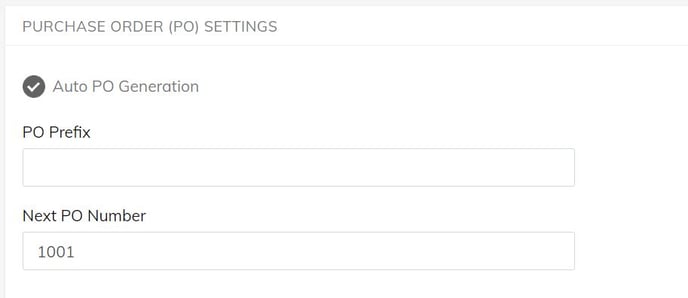
Please note that you can setup auto PO number generation by going to Stock > Stock Settings:
Supplier Invoice No: Internal reference number
Account Number: Internal reference number
Delivery Date: The date that the order will be delivered to your store
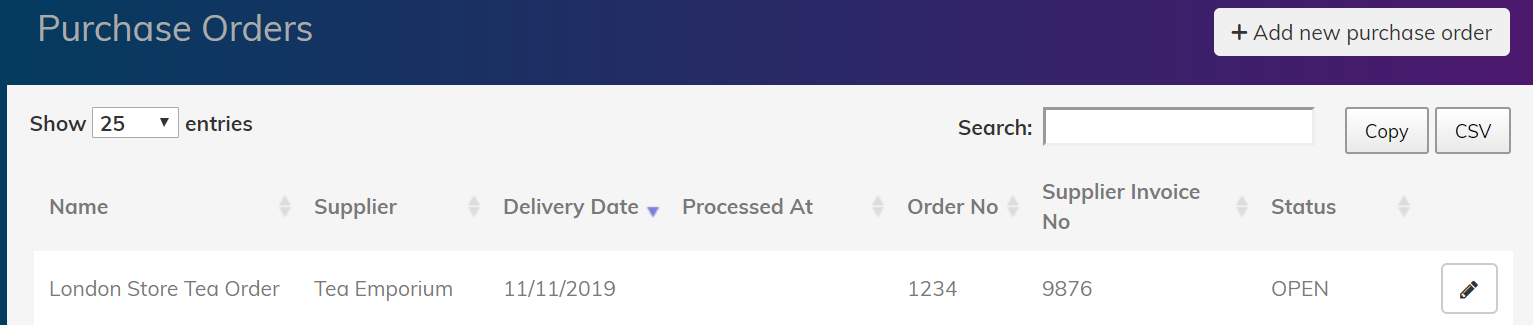
When you press Submit, this will take you to this page:
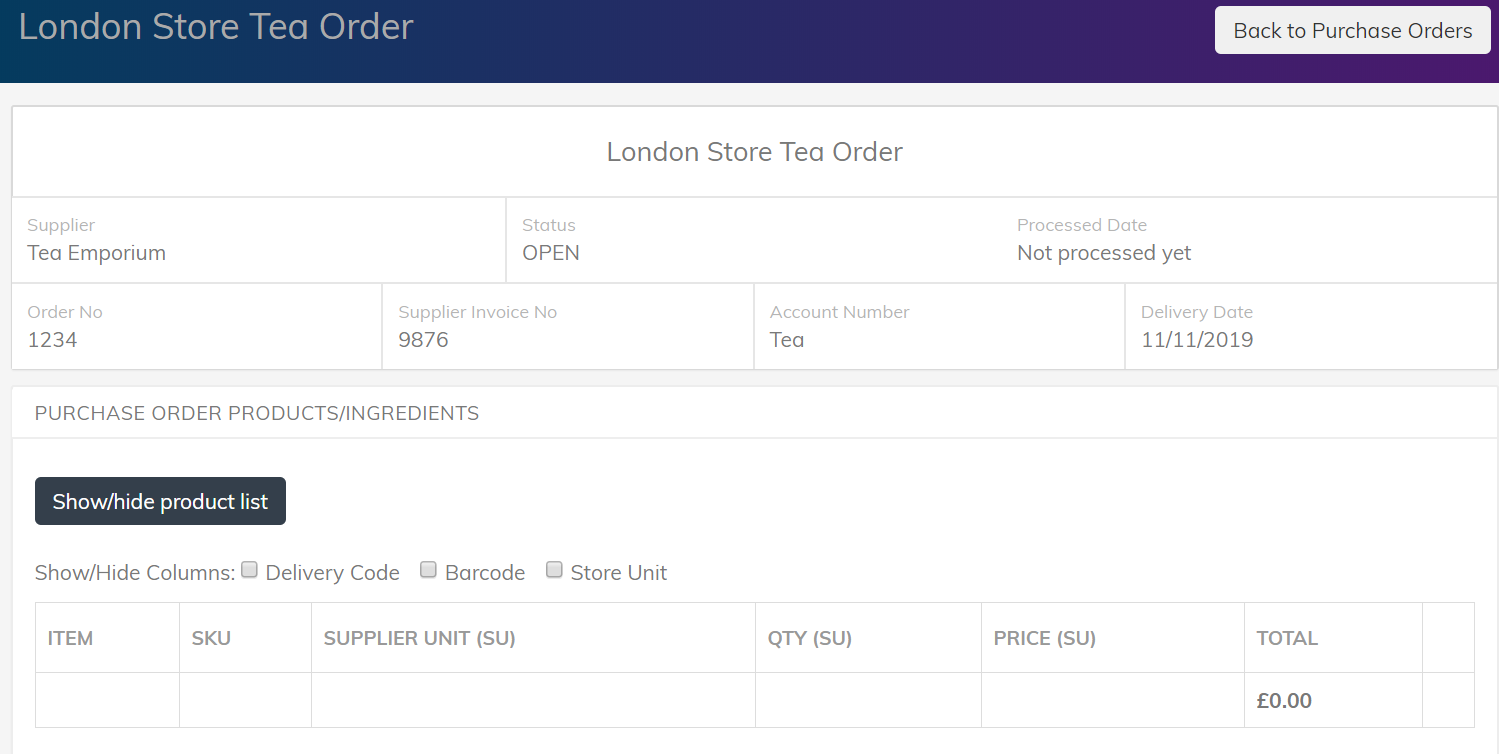
If you’ve made a mistake with any of these details, you can simply press “Back to Purchase Orders”, and then click the pen button to edit.
When you’re ready to add your products and/or ingredients, you’ll need to select “Show/hide product list”:
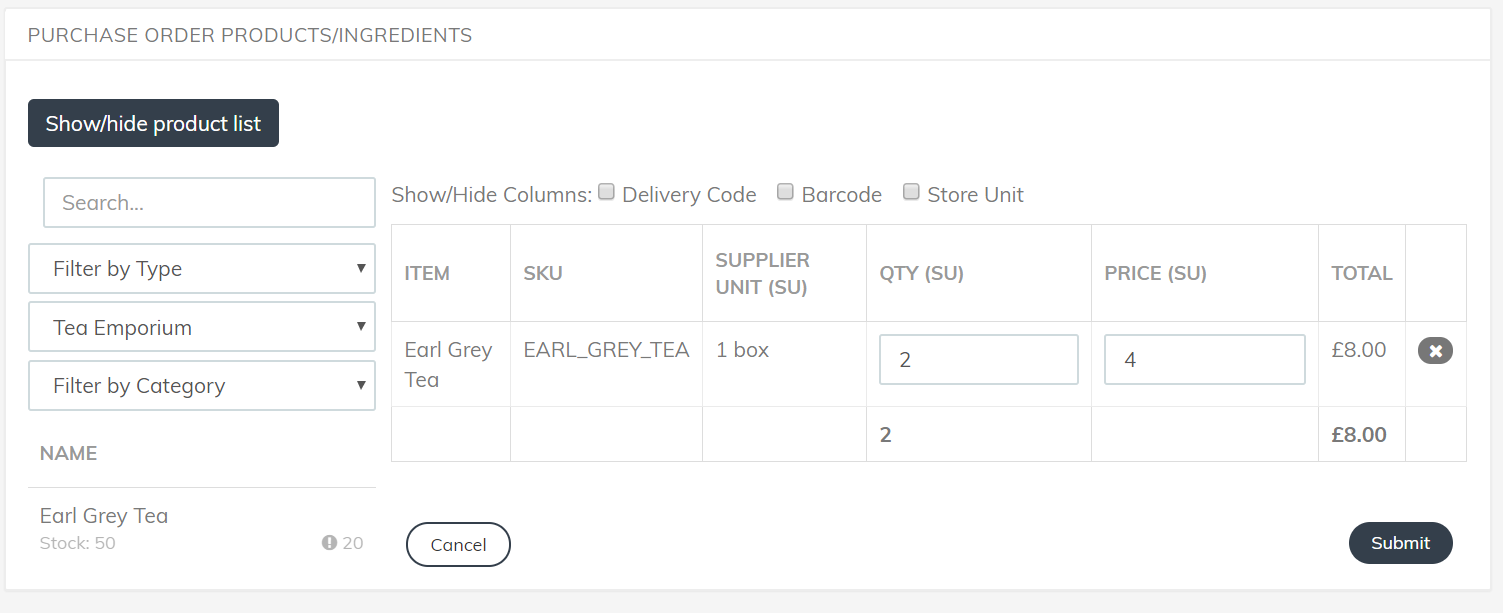
You can then use the three fields to search through your products.
You can see in the example Earl Grey Tea, that it will show you the stock level under the product/ingredient name, and the ideal stock level (next to the exclamation mark)
You will need to input the quantity in the Supplier Unit, but you can tick the “Store Unit” button which will automatically show you what to expect in your store unit.
For example:
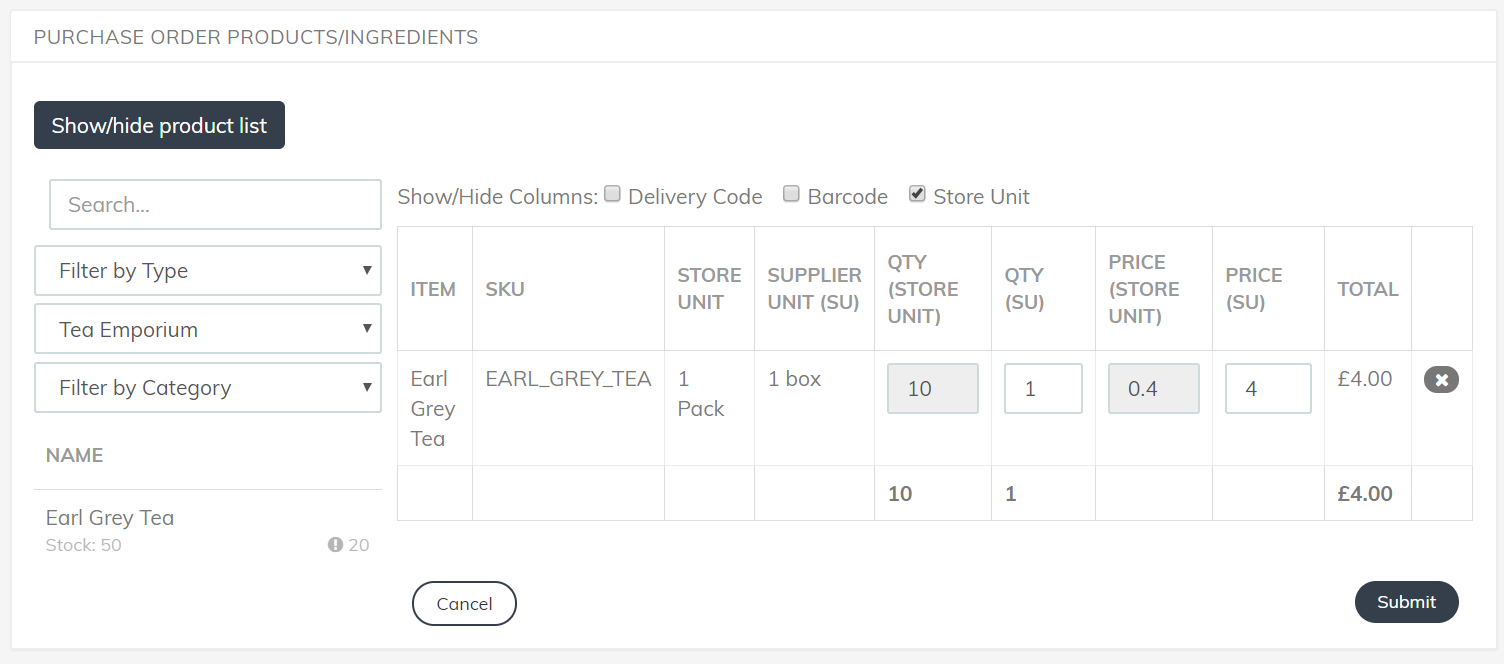
In this example, the tea comes from the supplier in boxes, and within each box there are 10 packs of tea.
Once you’re happy that you’ve entered everything, press Submit.

This page will confirm the amounts you are requesting, and you can always select “Edit items” if you need to add or remove anything.
When you’re ready, select “Send Order”. Once sent, the supplier will receive an email and the status will be changed to SENT. The Purchase Order will be then available in the Stock app to be received.
Once sent, you will not be able to add/edit items to the order.
If you don’t want an email to be sent to your supplier (i.e, if you’re just going to text or phone them, and need the system to still recognise that you’re going to have a delivery, then select “Mark as Sent”.
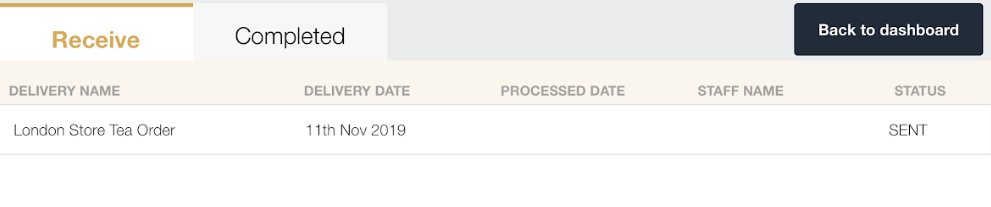
Now the order will appear on the Stock app on your iPad, under “Deliveries”.
Accepting Deliveries
On the Stock app, select “Deliveries” on the dashboard and it will take you to the page below:

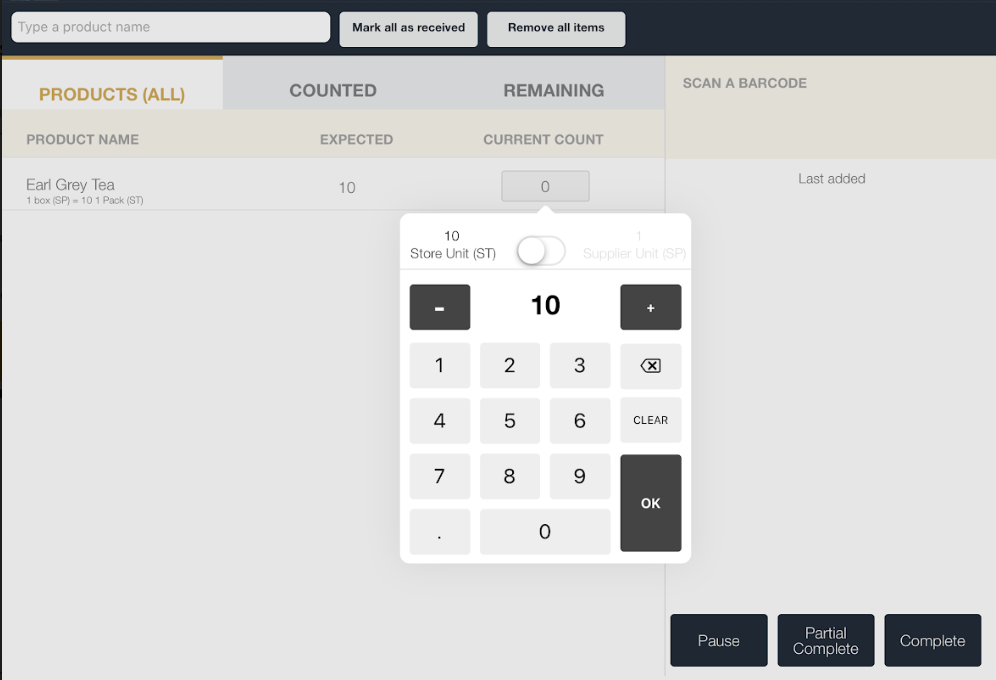
When you tap on the number, it will automatically choose the expected amount, so you can confirm it quickly, or you can override it:
You can tap the bin icon if you’ve made a mistake and need to re-do:
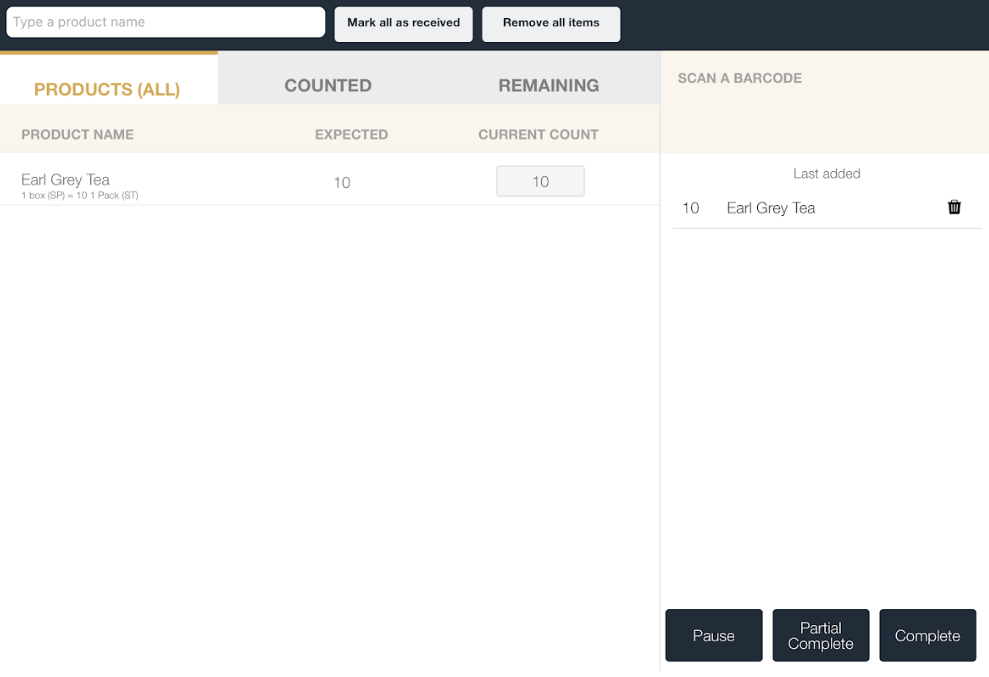
You can also select “Mark all as received” if you’d like to do a mass complete.
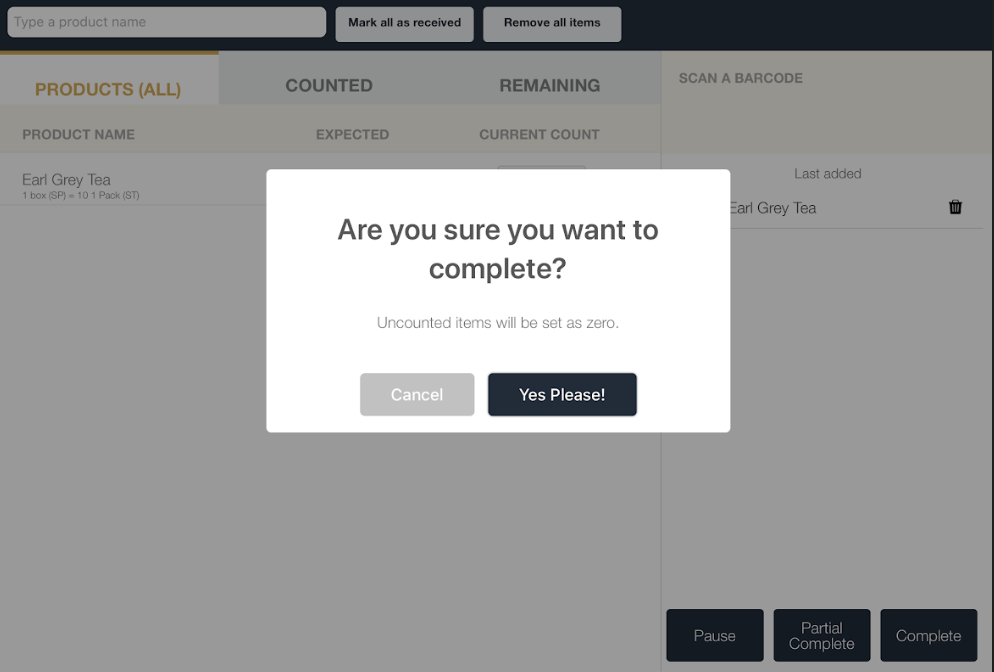
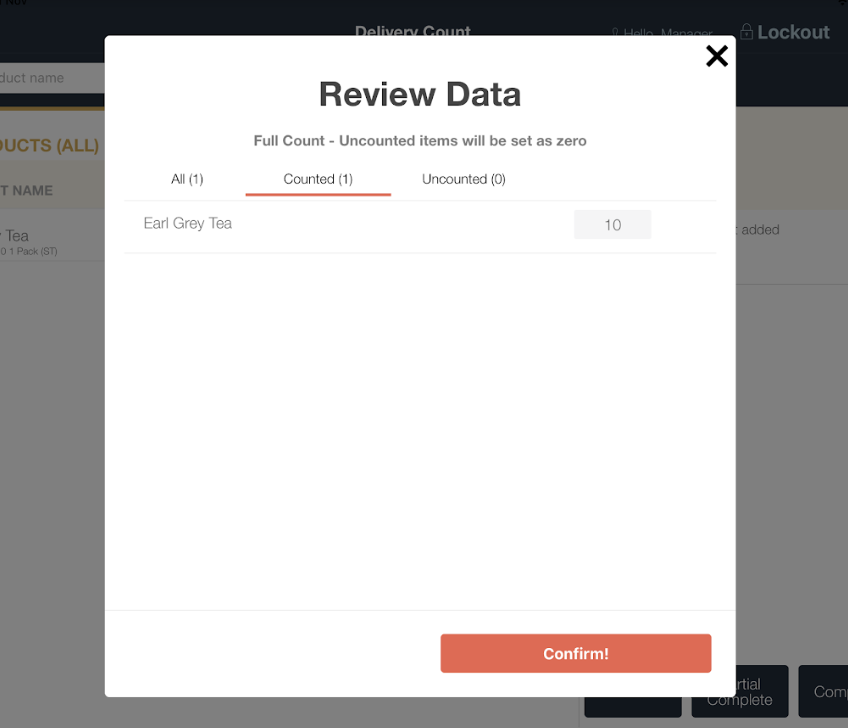
Then just select “Complete” when ready, and the app will ask you to confirm and check:
You can also mark the delivery as received in the back office (Stock > Orders):

When you’ve marked as received (on either the app or the back office), you’ll see the order shows as completed (Stock > Orders):
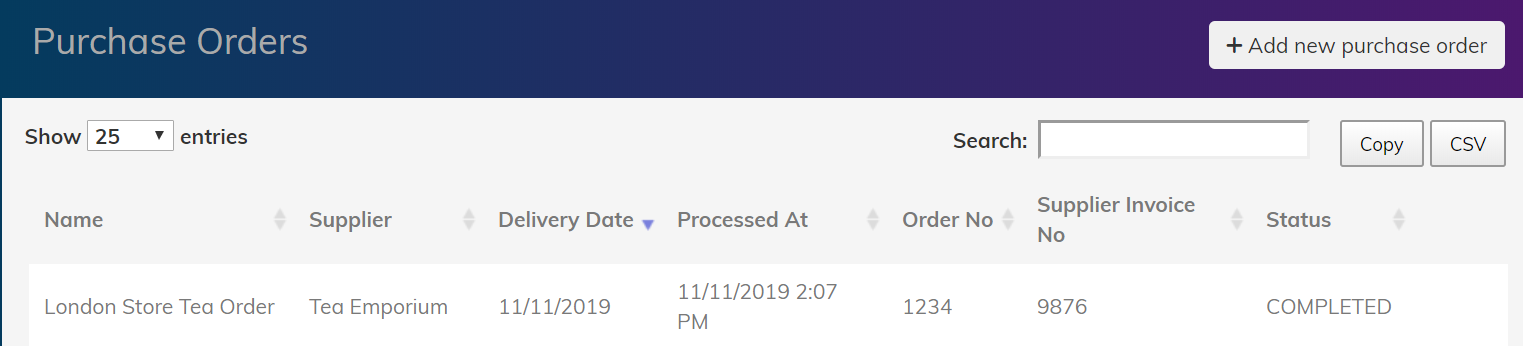
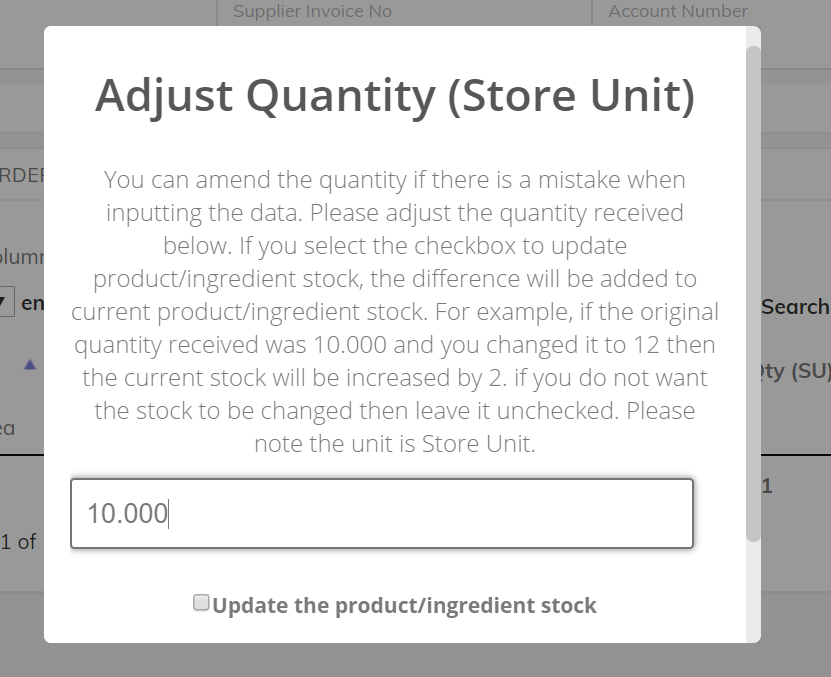
If we click on this row then it will give you a breakdown of the amounts received:
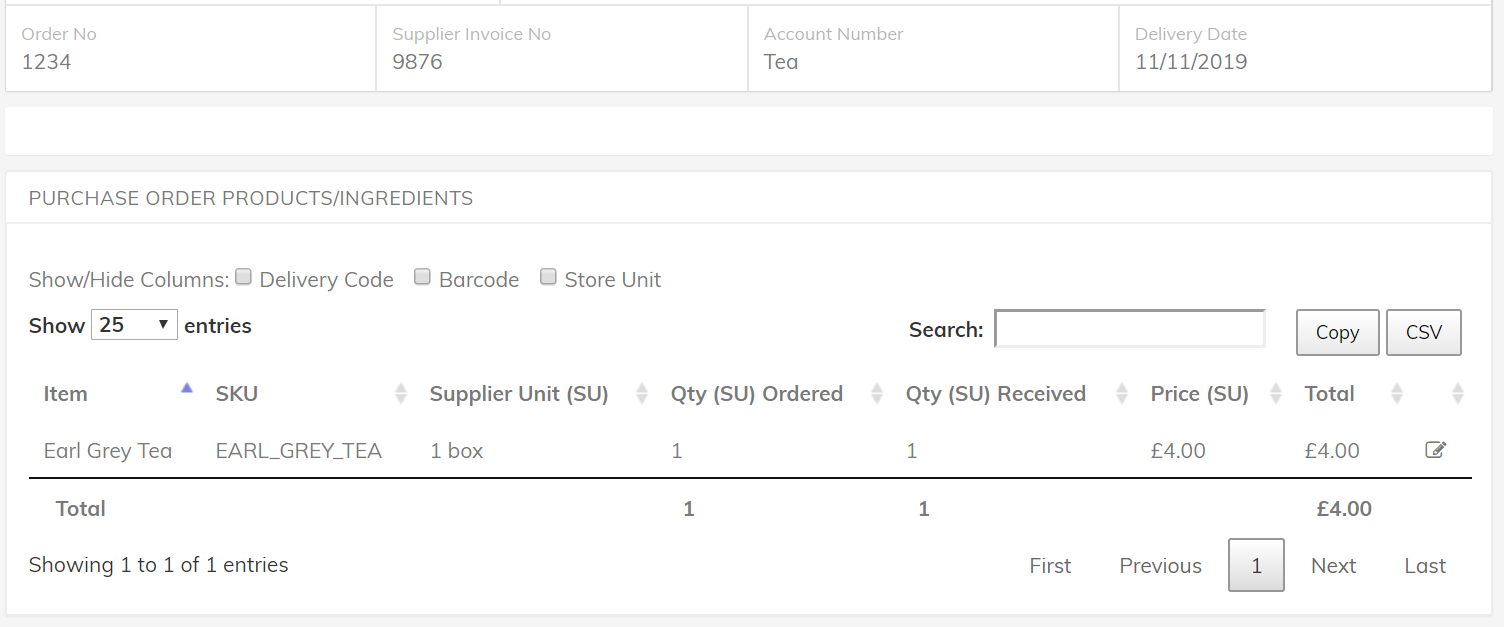
If there’s been a mistake in the count of received items, then you can rectify this by selecting the little pen icon. This will allow you to adjust the Store Unit quantity: