
Table Layout
The table layout is how you customize the table feature on the front-end (The POS app on the iPad). This is how you will see your tables on the app. You can have different table layouts for different registers, such as for upstairs, outside or for a pop-up event for example.
How to create a Table layout
To assign orders to tables, the layout must be created first which can be done in a simple and similar way to the selling layout. In the Setup tab, go to Table Layouts. Click the edit icon to edit a current table layout or click on the ‘+Add new table layout’ and you will be presented with the screen shown below.
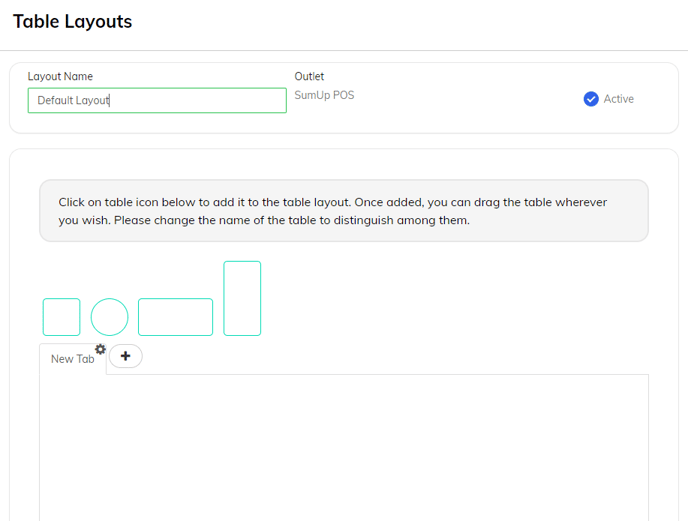
How to use and edit the Table layout
To add a new table to your layout, just tap once on the preferred table shape and it will copy this over to your layout screen.
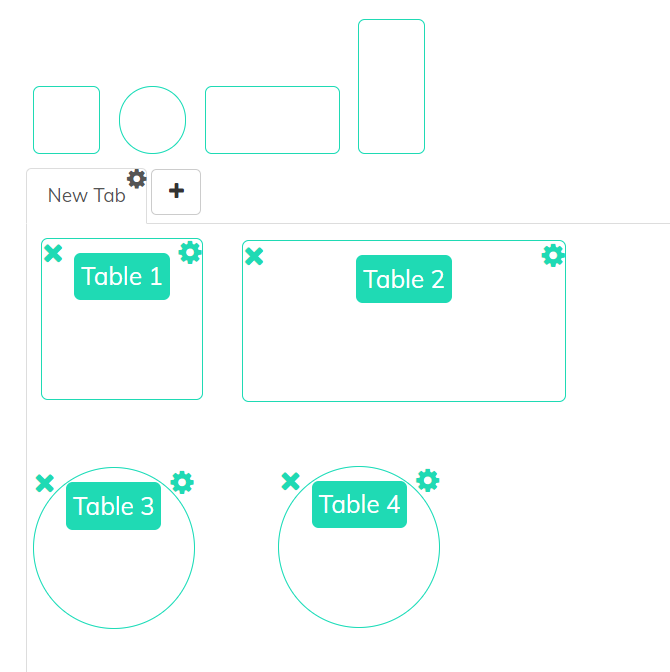
You are then able to click, drag and drop the table to mimic your store layout as you wish.
You are also able to change the name of the table by clicking on the gear icon. Please input your table name and click on the gear icon again to hide the text field.
Please do not forget to click ‘Submit’ at the bottom of the page to save your work, and to refresh on your POS app with the logo at the top left to sync the changes.
Unfortunately it is not possible to re-size the tables in the layout, however there is a zoom in/out function on the POS table layout screen.

If you create a new table layout, don't forget to link it to your register profile! To do this, go to Setup > Registers > Edit Register > Choose the new layout from the dropdown:
Again, don't forget to press Submit to save, and to refresh on your POS app with the logo at the top left to sync the changes.